28.04.2021
How to Build a Shower Enclosure with Premium boards Blue Board?
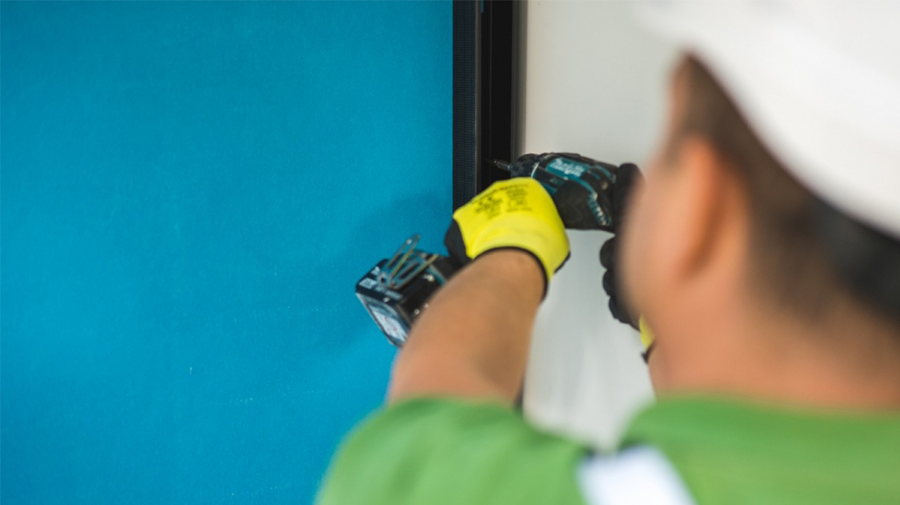
In this article we explain how to build a shower enclosure with Premium boards Blue Board.
Tools and products you need:
- Blue Board GMFH1IR
- Blue Board TB 3.9x30 mm Super Premium Screw C5
- CW Super Premium Profile
- UW Super Premium Profile
- FUGA Hydro
- Glass-fibre Joint Tape
- Tape Measure
- Pencil
- Chalk Line Marker
- Drywall Screwdriver
- Hole Saw Ø 60 mm
- Utility Knife
- Mechanical Stirrer
- Drywall Trowel
- Joint Knife
Here are the steps we followed:
We start by marking the space and the surface area we want to separate for the shower enclosure. We use a chalk line marker to draw the outlines on the floor. We repeat the same steps for the ceiling.
We measure the peripheral UW profiles and we tape them at the base with acoustic tape for better acoustic insulation. The we fix the profiles to the floor and ceiling using suitable fasteners.
Then we proceed with the measuring of the CW profiles. We fix the end CW profile to the wall (beforehand we have taped acoustic tape to its base). We fix the freestanding end CW profile to the peripheral UW profiles with Self-drilling screws TEX 4.2x13. Don’t forget that all CW profiles must be 10 mm shorter than the height of the room. It is important that the axial distance between the CW profiles is 60 cm for the subsequent single-layer lining of Blue Board GMFH1IR boards.
We repeat the same procedure for the other 2 walls of the shower enclosure leaving a distance of 12.5 mm (a piece of plasterboard can be used as a spacer) between the constructions of the two inner corners of the shower enclosure. This way the lined inner corner will be strong and stable.
We pass the water supply pipes through the precut openings in the CW profiles. Then we take Blue Board GMFH1IR and mark the position of the taps on the board. Using a hole-saw we drill 2 openings with a diameter of 60 mm.
We cut a small rectangular piece from one end of the board with a utility knife so that the corner pipes can fit in it.
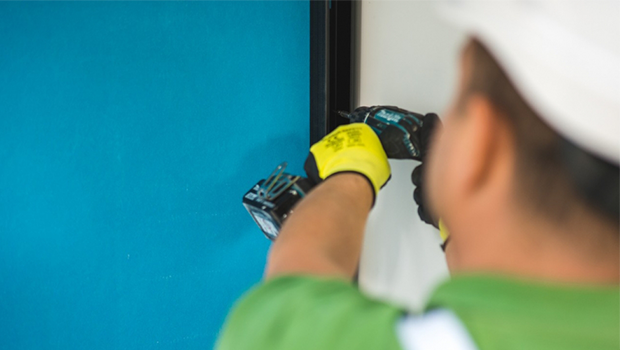
Using a drywall screwdriver, we mount the boards to the vertical CW profiles with the special anti-corrosive screws – Blue Board TB 3.9x30 mm Super Premium Screw. The screws must be fixed at a distance of 10 mm from the edges of the board. The screwdriver must be held perpendicular to the board, so that the angle between the board and the screw is 90 degrees. The screw head should penetrate 1 mm below the surface of the board, and the free end of the screw should enter at least 10 mm into the hollow space of the profile.
We repeat this action for the other 2 sides of the shower.
Using the innovative Blue Board in combination with FUGA Hydro will provide additional protection to the surfaces against the moisture penetration in wet premises indoors.
Pour water into a clean container and add FUGA Hydro moisture resistance joint filler to it, so that 1-2 mm of the water remains above the level of the gypsum mixture (about 500 ml of water per 1 kg of product). Wait for the mixture to settle for approximately 5 minutes, then stir with mechanical stirrer until a smooth and homogeneous mixture is formed. Once the mixture is ready, we can proceed to filling the joints.
Place a sufficient amount of the mixture on the drywall trowel and apply a thin layer to create a smooth transition between the joint and the board. This layer should be approx. 200 mm wide along the entire length of the joint.
Reinforce the joint with glass-fibre joint tape then add another layer of the FUGA Hydro mixture along the length of the joint.
Repeat the same action for all joints on the boards.
Using a joint knife fill the heads of the screws as well as the joints on the internal corners. After the first layer is applied reinforce with glass-fibre joint tape and finish with a second layer of FUGA Hydro.
Additional information:
Depending on the environmental conditions (possibility or presence of condensation in places with swimming pools, places with chemical pollutants, partition walls and linings near coastal areas or in industrial facilities, etc.) it is recommended to use special profiles and accessories reinforced with additional anti-corosion coating. Providing high level protection against corrosion guarantees that the metal stud frame of the system solution will remain unaffected by an aggressive environment for a long period of time.
The different classifications of profiles and accessories you can use are:
- Class C3-C4 - Spaces where condensation is frequent, with high levels of air pollutants caused by manufacturing processes, e.g. industrial facilities, places with swimming pools, public changing rooms and shower rooms.
- Class C5 - Buildings and areas subject to constant condensation, intense humidity and high levels of pollutants e.g. sea water or thermal baths.